This articles describes how you can publish parts of your obsidian vault to your personal blog as a digital garden. I advocate sharing knowledge - it helps others and you can build your own brand.1 I do all my work in Obsidian2. I write for all my areas of interest3 howto's and whatis articles in a folder 03_RESOURCES and I classify each article as public or private. Now I wanted to provide these articles for others (on the internet or inside my team at work) to read. I update a simple and very functional jekyll template so it can render obsidian notes including their links.
Setup
First fork the repo and then clone your fork
git clone https://github.com/{your-name}/simply-jekyll-obsidian.git
Prerequesits
- Install ruby with rbenv:
rbenv init && eval "$(rbenv init - zsh)" - Install bundler:
gem install bundler jekyll - Install the required gems for the blog
bundle install
Optional: Update the dependencies with bundle update4
Configuration
- Customize the
_config.ymldescribe here.
Post / Note Integration
Next you move the notes you want to publish to the _notes folder. As I mentioned in the introduction I located my articles in the 03_RESOURCES folder and added a custome tag in the frontmatter classification: public to all post I want to publish. Given you run a simlar setup you can use my script to identify and move all the articles + the related images & files into the _notes folder.
- Install the obsidian metadata-extractor plugin. Configure the plugin to create the
metadata.jsonand theallExceptMd.json.files and note the path of the generated files. - First setup python & pipenv5.
- Then initalize the runtime environment with
pipenv install - Then execute the script located in the repository:
./copy_notes.py --vault {absolut-path-to-vault} --branch {the-git-branch-you-want-to-push-to} --metadata {absolut-path-to-metadatafiles}.
Run locally
rbenv init
eval "$(rbenv init - zsh)"
bundle exec jekyll serve
Publication
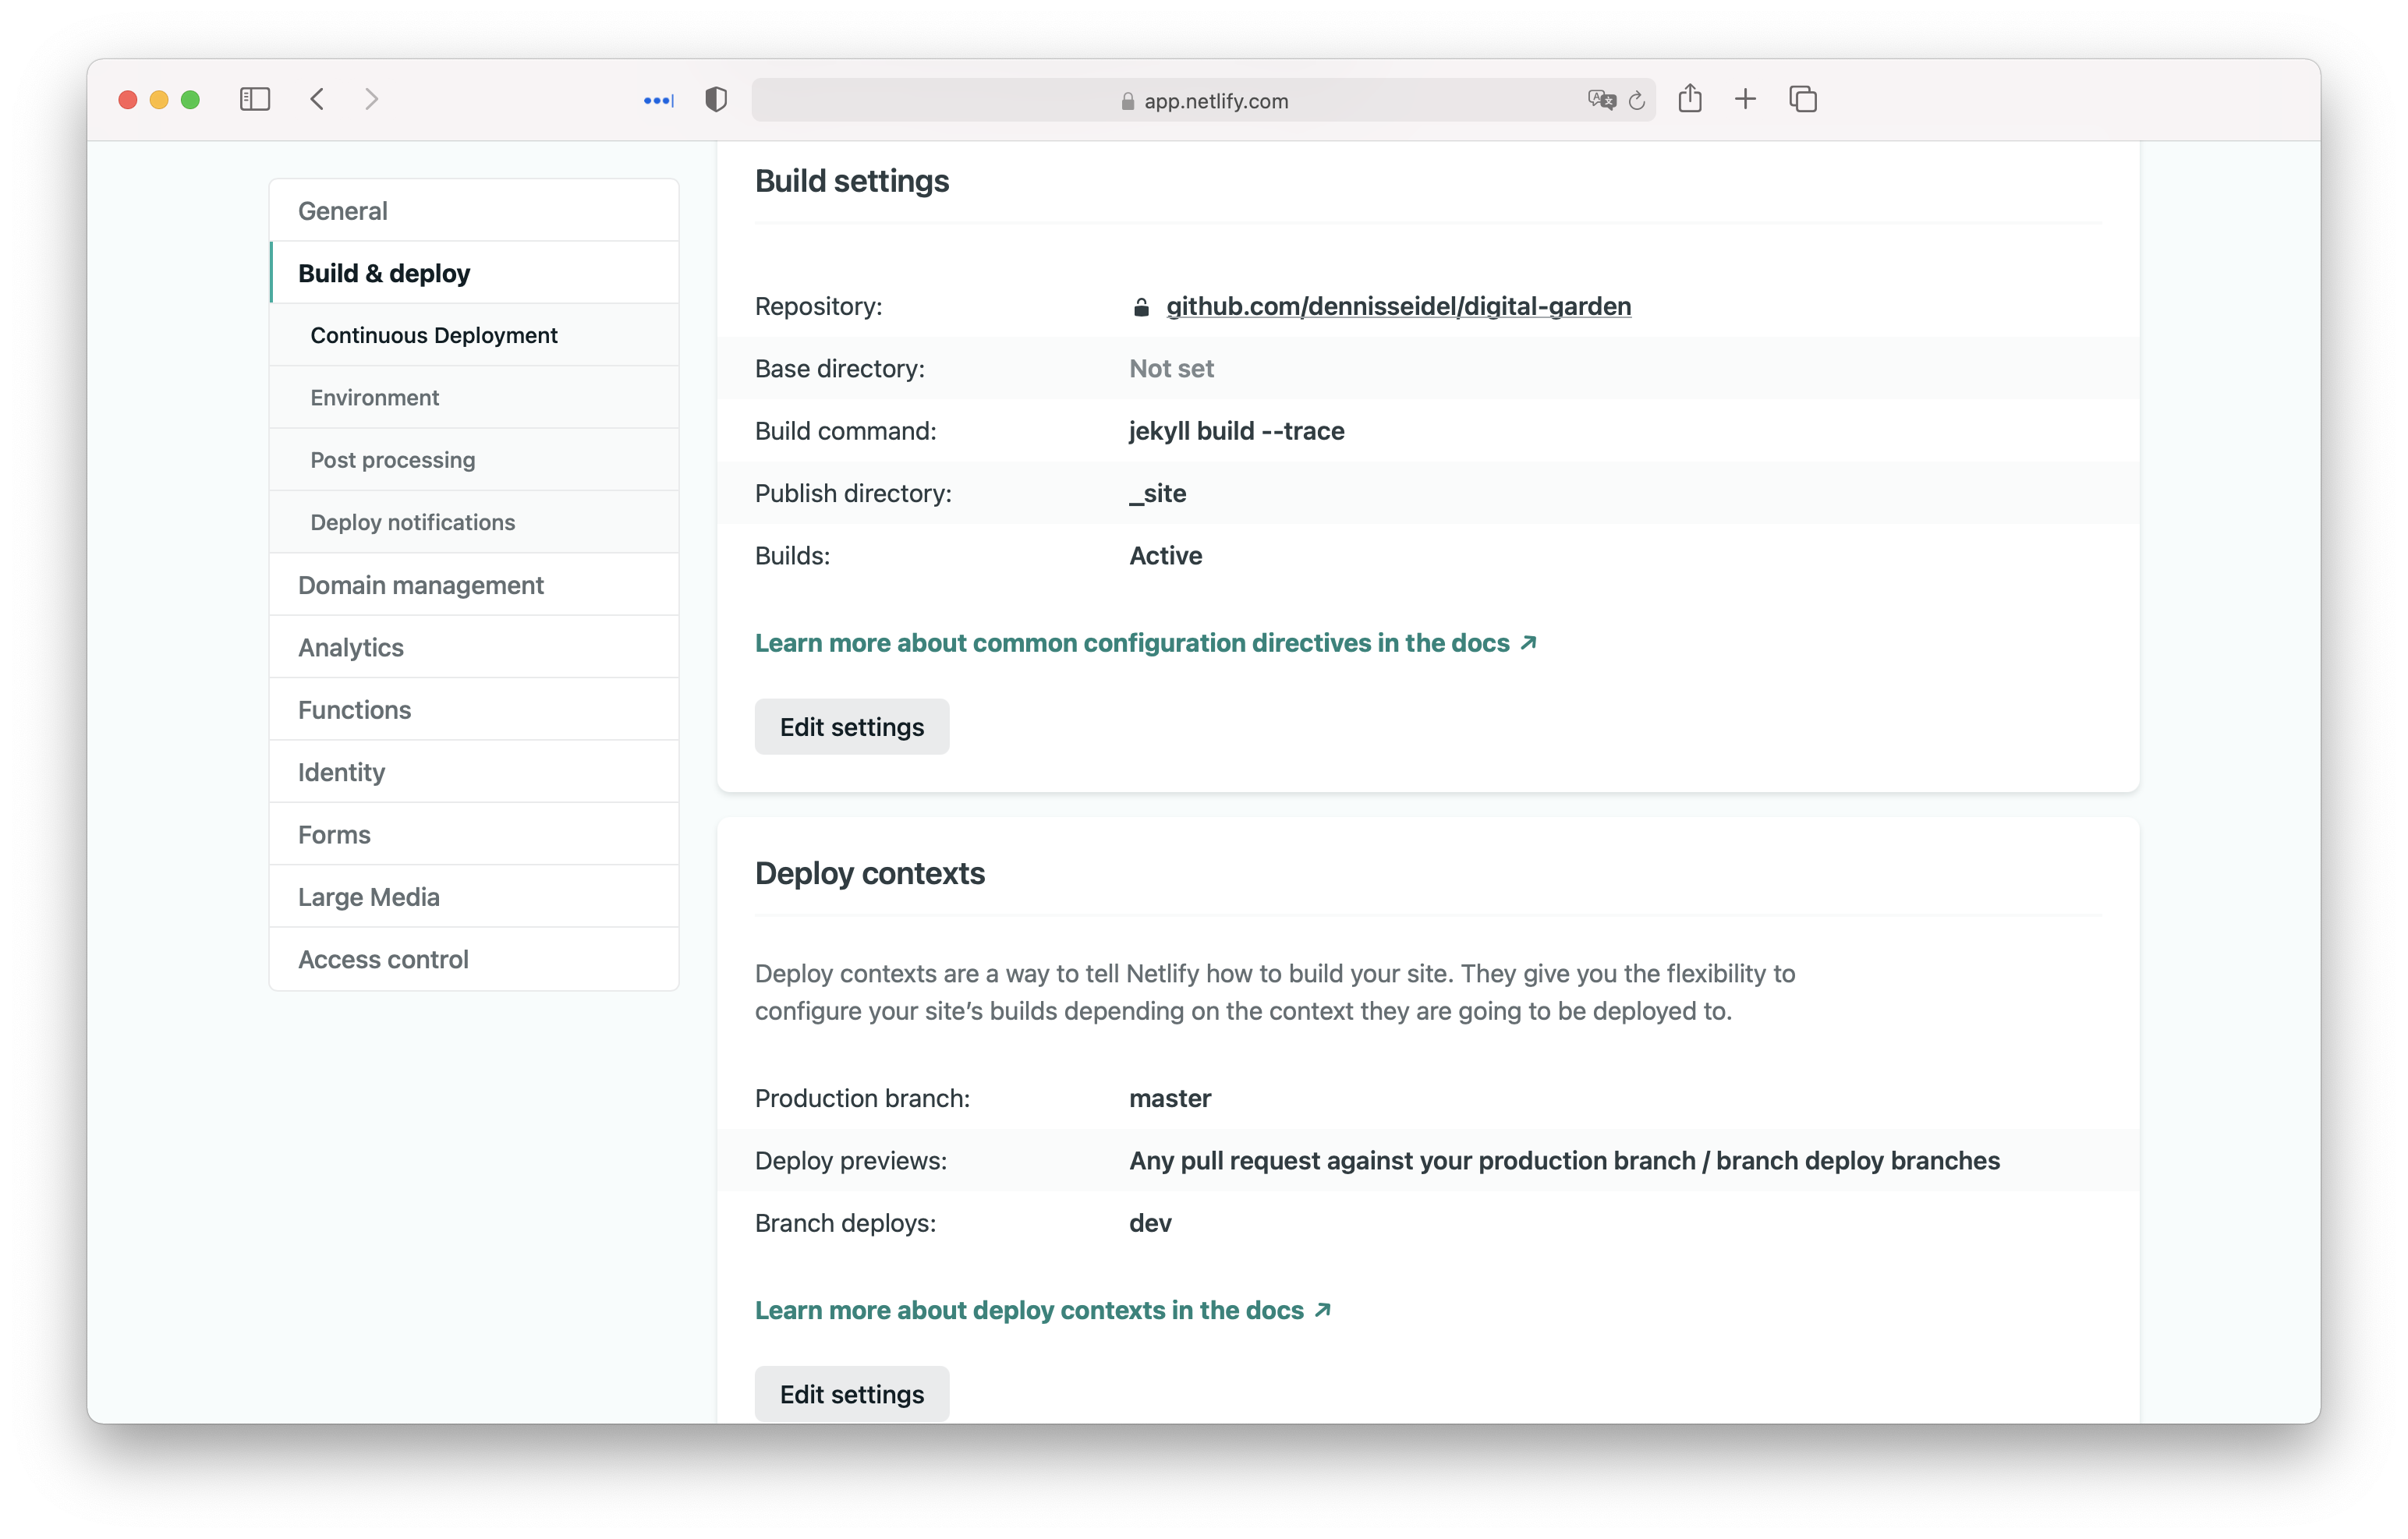
To publish youe website you push the update files to github. Then you configure netlify to deploy the new version. Optionally: Configure your own domain (DNS).
- Use the script with the additional
-pparameter to push the files to github:cd _operations && ./copy_notes.py --vault {absolut-path-to-vault} --branch {the-git-branch-you-want-to-push-to} --metadata {absolut-path-to-metadatafiles} -p - This repository is configured with netlify to automatically build the
devbranch. I can preview changes there. Afterwards I can merge the changes to master where another netlify pipeline build and publishes them to my website.
Footnotes & Resources
-
In the social media age your own brand is important and more by sharing you can help others without any negative impact. Let's help each other by sharing :) ↩
-
See the details of my setup in setup your work environmentsetup your work environment
This article describes how you setup your work / writing environment to be productive.1 It use Obsidian to organize what I you do and write. The high-level structure are PARA folders.2 You'll crea.... ↩ -
At the time of writing the areas where: simple productivity, engineering, startup, healthcare / bio tech, iot and building teams. ↩
-
With the last update I had to add webrick:
bundle add webrickandbundle install webrick. If you use my fork this is allready done. ↩ -
See how setup a python development environment. ↩